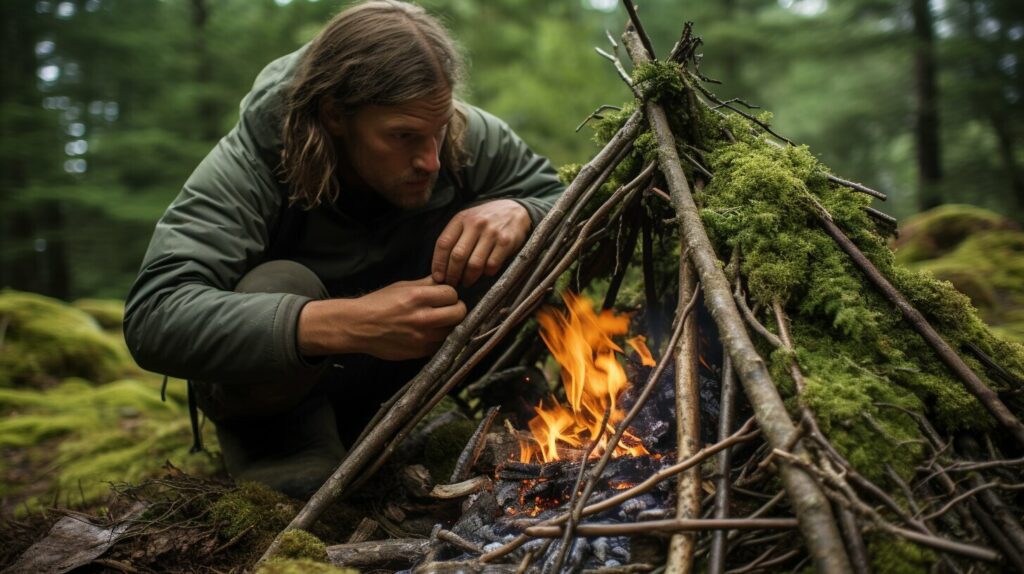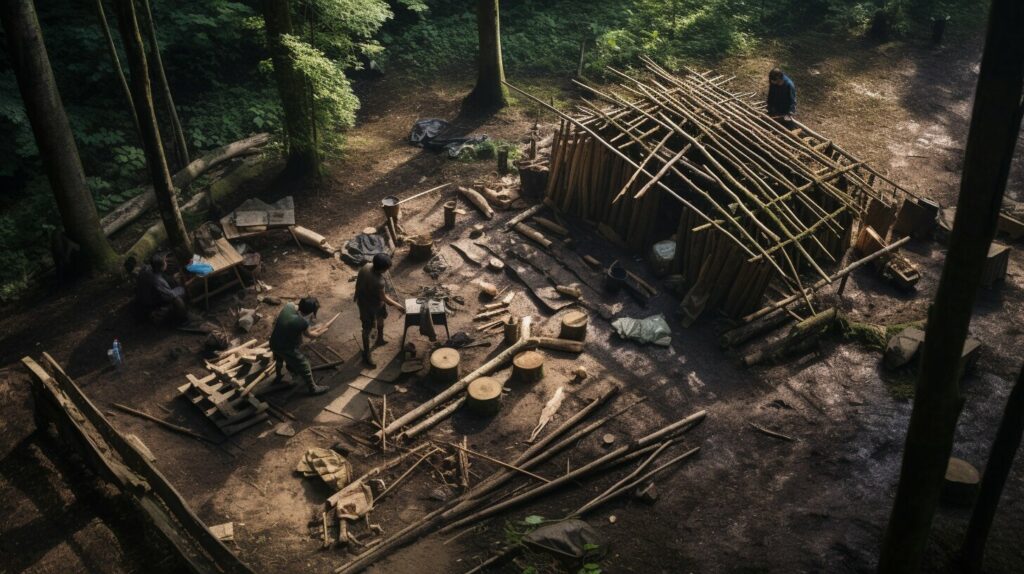
In this article, I will share my expert tips on mastering the skills needed to build huts for survival in the wilderness. These techniques are essential for constructing sturdy and reliable shelters that can protect you from the elements and provide a safe haven in emergency situations. I have gathered information from various sources, including real-life survival experiences and instructional guides, to provide you with comprehensive knowledge in building survival shelters.
Key Takeaways:
- Learn essential hut building techniques for wilderness survival
- Construct reliable shelters using natural materials
- Gain insights from real-life survival experiences
- Discover tips for improvised and bushcraft hut building
- Enhance your knowledge of survival shelter techniques
Long Term Survival Shelters: Rain Forest, Vancouver Island
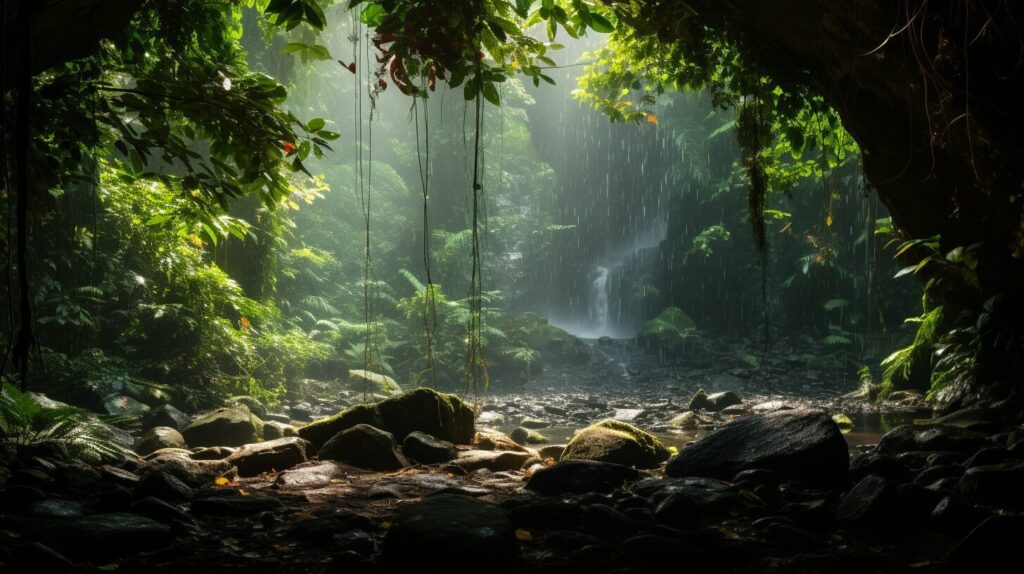
In the lush rain forests of Vancouver Island, long term survival shelters have become a necessity for those venturing into the wilderness. One of the most intriguing shelter designs is the circular shelter with a tepee roof, as showcased in the popular show “Alone.” These shelters are specifically engineered to withstand the challenging conditions of the rainforest, providing both windproof and waterproof capabilities.
The circular shape of these shelters offers stability, while the tepee roof is crucial in shedding water and preventing leaks. The use of tarps and minimum natural materials makes them easily constructed and practical for survival situations. While they may not provide the highest level of insulation, these shelters are suitable for the temperate climate found on Vancouver Island.
Table: Comparison of Circular Shelters with Tepee Roofs
| Feature | Circular Shelter with Tepee Roof |
|---|---|
| Shape | Circular |
| Roof | Tepee-style for water shedding |
| Materials | Tarps and minimum natural materials |
| Windproof | Provides wind protection |
| Waterproof | Effectively sheds water and prevents leaks |
| Insulation | Minimal insulation, suitable for temperate climate |
The circular shelters with tepee roofs in the rain forests of Vancouver Island demonstrate the ingenuity of survival shelter design. By utilizing tarps and the minimum amount of natural materials, these shelters provide adequate protection from wind and water, ensuring the safety and comfort of those seeking refuge in the wilderness.
Long Term Survival Shelters: Magellanic Forest, Patagonia
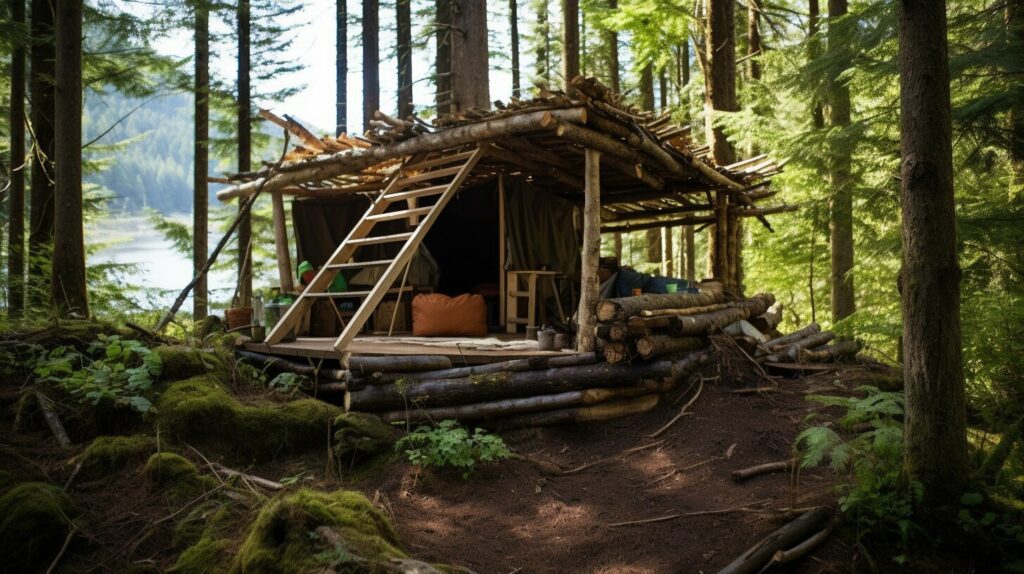
In the remote and challenging environment of the Magellanic Forest in Patagonia, long term survival shelters built by contestants on the show “Alone” showcased various designs and techniques. One popular choice among the participants was the A-frame shelter, which offers both stability and ample space for survival. These shelters are constructed using natural materials found in the forest and are designed to withstand the harsh weather conditions of the region.
A key feature of these A-frame shelters is the incorporation of a stone fireplace. This not only provides warmth but also acts as a heat reflector, helping to keep the interior insulated. The shelters also offer wind protection, leveraging the surrounding trees to provide additional stability against strong winds. Some contestants even used thatched walls and insulated roofs to improve insulation and create a more comfortable living environment.
By adapting to the location and utilizing the natural resources available, the contestants were able to construct effective long term survival shelters in the Magellanic Forest. These shelters demonstrate the importance of considering factors such as wind protection, insulation, and utilizing the environment to create a safe and sustainable living space.
| Features | Benefits |
|---|---|
| A-frame design | Offers stability and ample space |
| Stone fireplace | Provides warmth and acts as a heat reflector |
| Wind protection | Enhances stability against strong winds |
| Thatched walls and insulated roofs | Improves insulation and comfort |
Overall, the long term survival shelters built in the Magellanic Forest of Patagonia showcased the ingenuity of the contestants and their ability to adapt to their environment. These shelters provide valuable insights into the considerations and techniques involved in constructing effective shelters for long term survival. By leveraging the natural resources available and employing innovative designs, these shelters serve as examples of how to create a safe and sustainable living space in challenging wilderness environments.
Long Term Survival Shelters: Southern Taiga, Mongolia
In the Southern Taiga of Mongolia, the contestants in “Alone” built A-frame shelters to withstand the harsh conditions. These shelters utilize a ridge pole supported by two trees, making them strong and stable. They offer some wind protection, although the wind can still affect the entire roof. Insulation is crucial in this environment, and the shelters are reinforced with natural materials such as leaves and branches. These shelters demonstrate the importance of choosing a suitable location and utilizing the resources available for insulation and structural stability.
The Design and Construction of A-Frame Shelters
The A-frame shelter design is a popular choice for long term survival in the Southern Taiga of Mongolia. It provides a sturdy structure that can withstand challenging weather conditions. The key feature of the A-frame design is the ridge pole, which is supported by two trees or sturdy posts. This ridge pole provides stability for the entire structure and helps distribute the weight evenly.
By using natural materials such as leaves and branches, the A-frame shelters in the Southern Taiga are able to provide some insulation against the cold temperatures. These materials are layered on top of the frame to create a barrier that helps retain heat inside the shelter. Additionally, the layered materials act as windbreaks, reducing the impact of strong winds on the shelter.
When constructing A-frame shelters in the Southern Taiga, it is important to choose a suitable location that offers protection from the elements. Shelters should be built in areas that are sheltered from strong winds and potential hazards such as falling trees. By carefully selecting the location and utilizing the A-frame design, survivalists can create shelters that provide the necessary insulation and structural stability needed for long term survival in the Southern Taiga of Mongolia.
| Features | Advantages | Considerations |
|---|---|---|
| Sturdy A-frame design | Provides structural stability | Requires two trees or sturdy posts for support |
| Ridge pole | Distributes weight evenly | May require additional reinforcement in extreme weather conditions |
| Natural insulation materials | Offers some insulation against cold temperatures | Requires regular maintenance and replacement |
| Windbreaks | Reduces the impact of strong winds | May not provide complete protection in severe weather |
| Carefully chosen location | Offers protection from the elements | Requires thorough assessment and consideration of potential hazards |
Best Shelter on “Alone”: Randy Champagne, Season 5
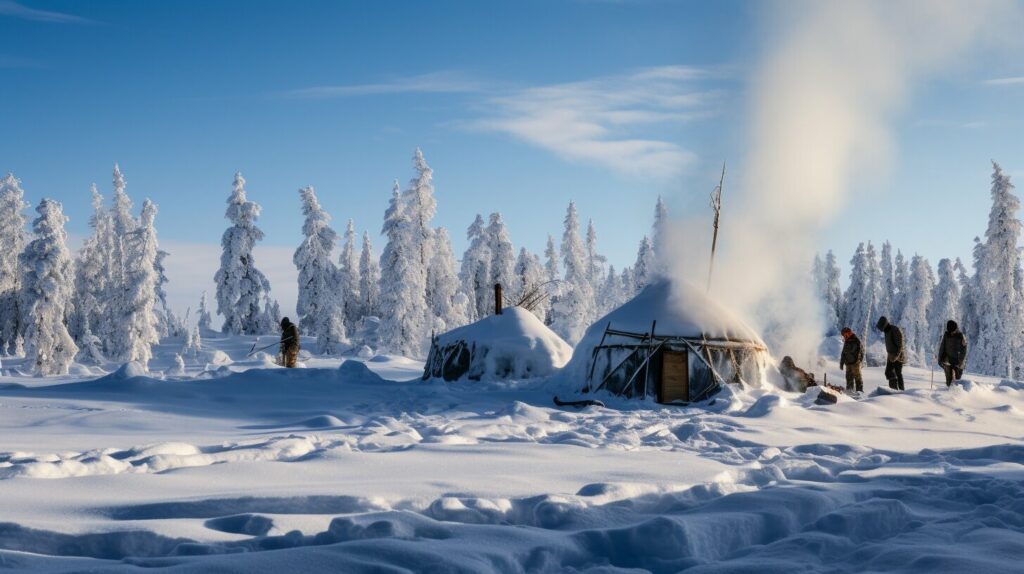
Among the many impressive shelters built on the survival show “Alone,” Randy Champagne’s shelter in Season 5 stands out as one of the best examples of a long-term survival shelter. Located in a -20 degrees environment, Randy prioritized insulation, which was crucial for his survival.
Randy’s shelter featured a well-built fireplace and chimney, which served multiple purposes. Not only did they provide warmth in the frigid temperatures, but they also helped with smoke ventilation, making the shelter more comfortable and safe to inhabit.
The slanted roof of Randy’s shelter was a clever design choice. It allowed snow to easily slide off, preventing excessive weight from accumulating on the roof. Additionally, the slanted roof provided additional insulation, further protecting Randy from the cold.
In Randy’s Own Words:
“I knew that insulation was key to surviving in extreme cold. So, I covered the roof with pine boughs, creating a thick layer of insulation. It made a world of difference and kept me warm even in freezing temperatures. I also made sure to build a proper fireplace and chimney to not only heat the shelter but also prevent the danger of carbon monoxide buildup.”
The Importance of Randy’s Shelter:
Randy’s shelter on “Alone” highlights the significance of proper insulation, a well-built fireplace, and a strategically designed roof in a survival shelter. In extreme cold conditions, insulation is critical to retain body heat and prevent hypothermia. A well-built fireplace and chimney provide warmth and ensure the safety of the shelter’s occupants by efficiently removing smoke and harmful gases. A slanted roof helps manage snow accumulation and provides additional insulation, making the shelter more resilient in harsh conditions.
Building Your Own Survival Hut: Method 1
In this section, I will guide you through the first method of building your own survival hut. This method involves finding a suitable location, utilizing a sturdy tree branch, creating a frame with branches, ensuring insulation, and setting up a comfortable ground bed.
- Finding a Suitable Location: Start by locating a flat area that is protected from strong winds and potential hazards. Look for a spot near a sturdy tree with a split trunk or find a Y-shaped branch that can simulate a split trunk.
- Utilizing a Sturdy Tree Branch: Use a long, straight tree branch as the main support for your hut. Place one end of the branch in the split trunk or prop it against the Y-shaped branch securely. This will provide stability for your shelter.
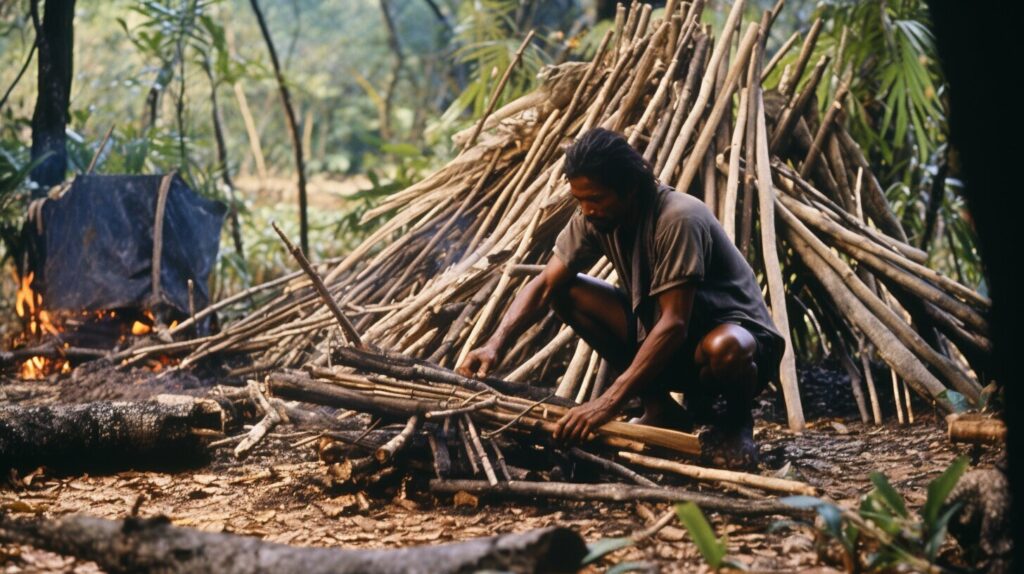
- Creating a Frame with Branches: Gather branches of various sizes and create a frame by leaning them at an angle against the main support branch. Make sure the branches interlock and provide stability. This frame will serve as the foundation of your hut.
- Ensuring Insulation: Cover the frame with insulation materials to protect yourself from the elements. You can use a tarp, leaves, or natural debris to create a barrier against wind and rain. Make sure the insulation is secure and covers the entire frame.
- Setting Up a Ground Bed: Create a comfortable and insulated ground bed inside your hut. Lay down leaves, grass, or branches to provide insulation from the cold ground. This will help preserve body heat and keep you warm throughout the night.
By following this method, you can build a survival hut using minimal natural materials and essential survival techniques. Remember to adapt the design and materials according to the environment and resources available to increase your chances of survival.
Building Your Own Survival Hut: Method 1
| Steps | Details |
|---|---|
| Finding a Suitable Location | Locate a flat area near a sturdy tree with a split trunk or a Y-shaped branch. |
| Utilizing a Sturdy Tree Branch | Use a long, straight tree branch as the main support for your hut. |
| Creating a Frame with Branches | Gather branches and lean them against the main support branch to create a stable frame. |
| Ensuring Insulation | Cover the frame with insulation materials such as a tarp or natural debris. |
| Setting Up a Ground Bed | Create a comfortable ground bed using leaves, grass, or branches for insulation. |
Building Your Own Survival Hut: Method 2
When it comes to building a survival hut, Method 2 offers a unique approach using readily available snow as the main building material. This method is ideal for snowy environments where snow can be piled up to create a sturdy shelter. Let’s take a closer look at the steps involved in constructing a snow-based survival hut.
- Start by piling snow into a rounded shape, creating a mound that will serve as the foundation of the shelter.
- Insert guide sticks through the top and sides of the mound, ensuring consistent thickness and stability throughout.
- Allow the snow to partially freeze, as this will increase the overall stability of the structure.
- Hollow out the center of the mound, creating a small enclosure that will serve as the actual shelter.
- Create a ventilation hole in the ceiling of the shelter to ensure fresh air circulation.
This method takes advantage of the insulative properties of snow, providing excellent protection against cold temperatures. Additionally, the natural properties of snow make it an effective sound barrier, offering a sense of quiet and peace inside the shelter. However, it’s important to note that this method is specific to snowy environments and may not be applicable in other conditions.
What to Consider:
Before constructing a snow-based survival hut, it’s essential to consider a few factors:
- Weather conditions: Ensure that the snow is suitable for packing and building a structure. Fresh, powdery snow may not offer the necessary stability.
- Location: Choose a spot that is safe from potential avalanche risks or other natural hazards. Look for an area with compacted snow or a solid base.
- Ventilation: Proper air circulation is crucial to prevent condensation and maintain a comfortable environment inside the shelter. Be careful not to block the ventilation hole.
| Pros | Cons |
|---|---|
| Excellent insulation against cold temperatures | Specific to snowy environments |
| Natural sound barrier | Dependent on suitable snow conditions |
| Readily available building material | Potential for snow to melt and collapse structure |
| Quick and simple construction | Requires proper ventilation for air circulation |
Teaching Kids Wilderness Survival Skills: Build Your Own Survival Kit
One essential skill to teach kids in wilderness survival is the creation of a survival kit. Assemble the kit with items such as a small pack, compass, fire-starting tools (matches, lighter, magnifying glass), emergency blanket, water filter, multi-tool, and a pocket flashlight. These items are essential for emergency preparedness and can be carried in a small pack. Teaching kids the importance of having a survival kit prepares them for outdoor adventures and helps instill a sense of responsibility for their safety.
Having a compass in the survival kit is crucial for navigation in the wilderness. Teach kids how to use a compass to determine direction and find their way back to safety. Show them how to orient the compass correctly and read the cardinal directions. Let them practice using the compass in various settings, such as a local park or on a hike, to strengthen their skills in navigation and map reading.
Fire-starting tools are also essential in a survival kit, as fire can provide warmth, light, and a way to cook food. Teach kids how to safely use matches, a lighter, or a magnifying glass to start a fire. Emphasize the importance of fire safety and demonstrate the correct way to build and maintain a fire. Show them different fire-starting techniques, such as using tinder and kindling, and guide them in selecting appropriate materials from the surrounding environment.
Other items to include in the survival kit are an emergency blanket, which provides insulation and protection from the elements, a water filter for purifying water from natural sources, a multi-tool for various tasks and repairs, and a pocket flashlight for illumination in low-light situations. Teach kids how to properly use and care for these items, emphasizing their importance in survival situations. Encourage them to pack their survival kits whenever they venture into the wilderness, promoting a sense of self-reliance and preparedness.
| Item | Description |
|---|---|
| Small Pack | A compact bag to carry the survival kit |
| Compass | Provides direction and navigation |
| Fire-Starting Tools | Matches, lighter, magnifying glass for starting fires |
| Emergency Blanket | Insulation and protection from the elements |
| Water Filter | Purifies water from natural sources |
| Multi-Tool | Various tools for tasks and repairs |
| Pocket Flashlight | Illumination in low-light situations |
By teaching kids how to build their own survival kits, we empower them with valuable skills and knowledge that can potentially save lives in critical situations. These kits not only provide the necessary tools and resources for survival but also foster a sense of independence, responsibility, and preparedness. Encourage kids to explore the great outdoors with confidence, knowing that they are equipped with the essential items needed to stay safe and secure in the wilderness.
Teaching Kids Wilderness Survival Skills: Treasure Hunt (Compass and Map Reading)
One fun and educational way to teach kids about compass and map reading is through a treasure hunt activity. In this activity, children are given a compass and a map and are guided in navigating from one location to another using cardinal directions. Not only does this activity help them develop their compass and map reading skills, but it also encourages teamwork and problem-solving.
To begin, provide each child with a compass and a map that includes clear landmarks and coordinates. Explain the cardinal directions (north, south, east, and west) and show them how to align the compass with the map’s compass rose. Teach them how to set a bearing by turning the compass dial until the needle points to the desired direction.
Next, create a series of clues that lead the children from one location to another. The clues should require them to navigate using the compass and map, identifying landmarks and following specific directions. Encourage them to work together, communicate effectively, and use critical thinking skills to solve each clue and find the next location.
Treasure Hunt Example:
- Start at the designated starting point (e.g., a tree or a specific landmark).
- Use the compass to determine the direction of the first clue.
- Follow the clue and navigate to the next location using the map and compass.
- Repeat the process until the final clue leads them to the treasure.
Throughout the treasure hunt, encourage discussion and questions to reinforce the children’s understanding of map reading and compass skills. Emphasize the importance of orienteering, which involves using the compass, map, and landmarks to determine one’s location accurately. By engaging in this hands-on activity, kids will not only have fun but also gain valuable wilderness survival skills that can be applied in real-life situations.
Teaching Kids Wilderness Survival Skills: Campfire and S’mores (Fire Building)
One of the most enjoyable and educational activities to teach kids wilderness survival skills is building a campfire. It not only teaches them the essential skill of fire building but also allows them to experience the warmth and coziness of a campfire. Starting a fire requires gathering the right materials, such as tinder, kindling, and logs. Show the kids how to create a fire structure, like a teepee or a log cabin, and explain the importance of stacking the materials to promote airflow and efficient burning.
While building a campfire, it’s crucial to emphasize fire safety. Teach kids the safe distance to maintain from the fire, the importance of having a water source nearby, and how to properly extinguish the fire when they’re done. Additionally, instruct them about the different types of tinder and kindling they can use, such as dry leaves, small twigs, or birch bark. This hands-on experience will not only ignite their curiosity but also teach them valuable skills for survival in the wilderness.
“Building a campfire with kids is a wonderful way to teach them important wilderness survival skills. It helps them understand the significance of fire safety and the process of gathering and organizing firewood. Plus, it offers an opportunity for bonding and creating lasting memories around the warmth of a crackling fire.”
Once the campfire is built, it’s time to enjoy a classic camping treat – s’mores! Show the kids how to carefully toast marshmallows over the fire until they turn golden brown and gooey. Then, demonstrate how to place the perfectly toasted marshmallow between two graham crackers and a square of chocolate to create the ultimate s’more. Let the kids experience the joy of biting into the sweet and crunchy delight while being surrounded by the serene ambiance of nature.
Fire Building Checklist for Kids:
- Gather tinder, such as dry leaves, small twigs, or birch bark.
- Collect kindling, like small branches and twigs.
- Gather logs of varying sizes for the main fire structure.
- Create a fire structure, such as a teepee or a log cabin, to promote efficient burning.
- Practice fire safety, maintaining a safe distance from the fire and having a water source nearby.
- Extinguish the fire properly when finished.
| Benefits of Teaching Kids Fire Building Skills: | Tips for Building a Safe Campfire: |
|---|---|
| 1. Instills a sense of responsibility and self-sufficiency. | 1. Choose a suitable location away from flammable materials and overhanging branches. |
| 2. Enhances hand-eye coordination and fine motor skills. | 2. Clear the area around the campfire to create a safe zone. |
| 3. Teaches fire safety and the importance of following guidelines. | 3. Use rocks or a fire ring to contain the fire. |
| 4. Promotes teamwork and cooperation when gathering firewood. | 4. Never leave the fire unattended and keep a watchful eye on kids. |
| 5. Encourages problem-solving skills when starting and maintaining the fire. | 5. Extinguish the fire completely before leaving the campsite. |
Conclusion
Building huts for survival in the wilderness is a crucial skill that can save lives in emergency situations. By mastering hut building techniques, individuals can construct reliable shelters to protect themselves from harsh weather conditions. Whether it’s using tarps and natural materials or utilizing snow as a building material, understanding the principles of insulation, ventilation, and stability is essential.
Constructing survival shelters requires careful planning and adaptation to the environment. The techniques showcased in the survival show “Alone” demonstrate the ingenuity and resourcefulness needed to create effective wilderness survival shelters. From circular shelters in the rainforest to A-frame structures in Patagonia and Mongolia, each location presents unique challenges that require specific hut building techniques.
In addition to learning hut building techniques, teaching kids wilderness survival skills is crucial for their safety and confidence in outdoor adventures. Activities like treasure hunts, compass and map reading, and campfire building not only educate them but also create a connection with nature. By equipping children with these skills, they can navigate and protect themselves in the wilderness.
So whether you find yourself in a survival situation or want to teach your kids valuable wilderness skills, understanding building huts for survival, and the principles behind constructing reliable shelters is essential. With the right knowledge and practice, you can thrive in outdoor adventures and be prepared for any unexpected situations.
FAQ
What are some tips for building survival shelters in the wilderness?
Some tips for building survival shelters include finding a suitable location, using minimal natural materials, and prioritizing insulation and stability.
What types of long term survival shelters are suitable for rainforests like Vancouver Island?
Circular shelters with tepee roofs are popular in rainforests. They are designed to withstand challenging conditions and offer wind and water protection.
What types of long term survival shelters are suitable for the Magellanic Forest of Patagonia?
A-frame shelters with stone fireplaces are a popular choice in the Magellanic Forest. They provide stability, insulation, and wind protection.
What types of long term survival shelters are suitable for the Southern Taiga of Mongolia?
A-frame shelters with ridge poles are common in the Southern Taiga. They offer stability and some wind protection, while insulation is crucial in this environment.
Can you give an example of a well-built long term survival shelter?
Randy Champagne’s shelter in Season 5 of “Alone” is a great example. It prioritized insulation, featured a well-built fireplace and chimney, and had a slanted roof for snow management.
What is the first method for building a survival hut?
The first method involves finding a suitable location, using a sturdy tree branch as the main support, creating a frame with branches, and covering it with insulation.
What is the second method for building a survival hut?
The second method involves piling up snow to create a mound, hollowing out the center, and creating a ventilation hole. This method is ideal for snowy environments.
How can I teach kids wilderness survival skills?
You can teach kids wilderness survival skills by helping them create their own survival kit and teaching them compass and map reading through fun activities like a treasure hunt.
What should be included in a survival kit for kids?
A survival kit for kids should include items such as a small pack, compass, fire-starting tools, emergency blanket, water filter, multi-tool, and a pocket flashlight.
How can I teach kids compass and map reading?
You can teach kids compass and map reading by providing them with a compass and map, explaining cardinal directions, and guiding them to find locations using triangulation and landmarks.
How can I teach kids to build a campfire safely?
You can teach kids to build a campfire safely by explaining fire safety, choosing a proper location, showing them how to gather tinder, kindling, and logs, and allowing them to practice under supervision.

