Are you curious about how to make hard tack? This historic settler food is not only a survival bread but also a cost-effective way to create long-term camping supplies. Plus, it can be a fun activity for kids to learn about the food of the past. So, let’s dive into the simple steps of making homemade hard tack!
How to Make Hard Tack
- Hard tack is a survival bread and historic settler food with a long shelf life.
- Making hard tack requires simple ingredients like all-purpose flour, water, and salt.
- Follow the instructions to bake and cool the hard tack properly for the best results.
- Hard tack has a rich history and has been used by pioneers, settlers, sailors, and soldiers.
- Enjoy hard tack by softening it in liquid or using it as a base for different dishes.
The Ingredients and Equipment Needed
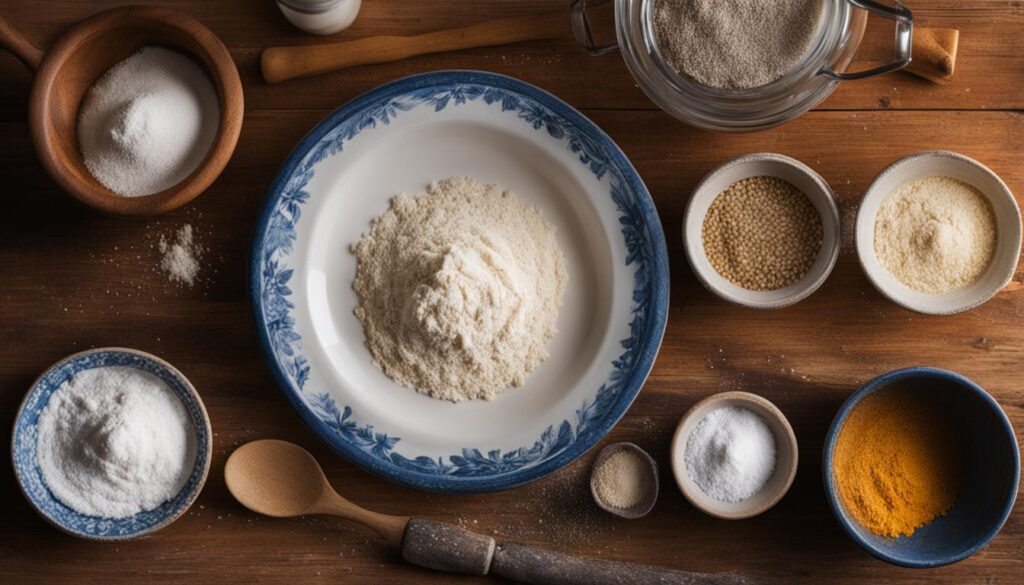
Before you embark on making your own hard tack, it’s important to gather all the necessary ingredients and equipment. The great thing about hard tack is that the ingredients are simple and readily available in most kitchens. You will need 2 cups of all-purpose flour, 3/4 cup of water, and 1 1/2 teaspoons of salt. These basic ingredients will form the foundation of your hard tack.
Alongside the ingredients, you will also need a few essential items to assist you in the process. These include measuring cups and spoons for precise measurements, a mixing bowl to combine the ingredients, a rolling pin to flatten the dough, a cutting board to shape the hard tack, and a silicone spatula for easy handling. Additionally, you will need baking sheets to bake the hard tack, oven mitts to safely remove them from the oven, a cooling rack to let them cool completely, and finally, an airtight food container for storing the finished hard tack.
Now that you have all your ingredients and equipment ready, it’s time to move on to the next section of our guide: the instructions for making hard tack. Get ready to start creating your very own batch of this historic survival bread!
Instructions for Making Hard Tack
Making hard tack is a straightforward process that requires minimal ingredients and equipment. Follow these simple steps to create your own batch of hard tack:
Gather the Ingredients and Preheat the Oven
Before you begin, gather the necessary ingredients: 2 cups of all-purpose flour, 3/4 cup of water, and 1 1/2 teaspoons of salt. Preheat your oven to 375 degrees F to ensure it’s ready when you need it.
Mix the Dough and Roll it Out
In a mixing bowl, combine the flour, water, and salt to form a dough. Knead the dough until it is well-combined and smooth. Next, place the dough onto a floured surface and roll it out to a thickness of 1/3 to 1/2 inches.
Cut and Bake the Hard Tack
Using a knife or a pizza cutter, cut the rolled-out dough into squares or rectangles. To prevent the hard tack from puffing up, poke holes in each square with a chopstick or fork. Transfer the cut dough pieces onto baking sheets and bake them for 30 minutes. After the first 30 minutes, flip the squares over and bake for an additional 30 minutes.
Cool and Store
Once the baking is complete, remove the hard tack from the oven and let it cool completely. The cooling process is crucial for achieving the characteristic hardness of hard tack. Once cooled, store the hard tack in an airtight container to preserve its freshness and long shelf life.
Tips for Making Perfect Hard Tack
When it comes to making crispy and delicious old-fashioned hard tack, attention to detail is key. Here are some tips to ensure that your homemade hard tack turns out just right:
Choose the Right Flour
For authentic hard tack, it’s important to use all-purpose flour instead of self-rising flour. Self-rising flour contains additional leavening agents that can cause the hard tack to rise and lose its characteristic dense and crunchy texture.
A Little Dry, Not Sticky
When preparing the dough, aim for a slightly dry consistency. The dough should hold together but not be overly sticky. If the dough is too wet, add a small amount of flour until you achieve the desired texture. This will make rolling out the dough easier and help the hard tack retain its shape during baking.
Poke Those Holes
Poking holes in the squares of dough before baking is an important step in ensuring that your hard tack comes out crispy. Use a chopstick or fork to create small holes in each square. This will prevent the dough from puffing up during baking and help the hard tack maintain its dense and sturdy structure.
Cool and Store with Care
After baking, allow the hard tack to cool completely before storing it. This will help it retain its crispness and prevent any moisture from getting trapped, which could lead to spoilage. Once cooled, store your hard tack in an airtight container to maintain its freshness and long shelf life. Properly stored hard tack can last for months, making it an ideal survival food.
The History and Significance of Hard Tack
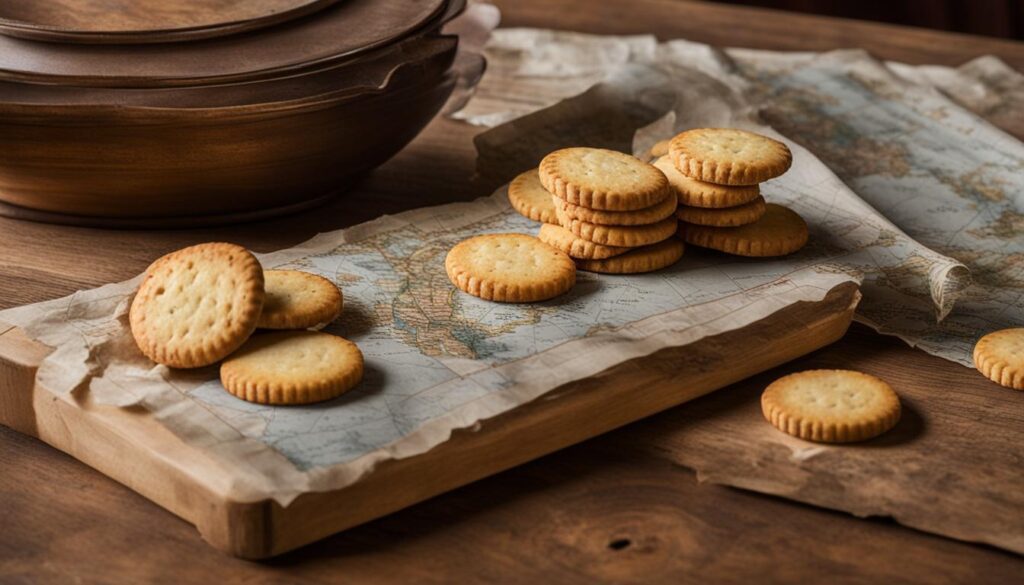
Hard tack, also known as ship biscuit or pilot bread, has a rich history and significant importance as a traditional settler food. It has been a staple survival food for centuries, sustaining pioneers, soldiers, sailors, and explorers during long journeys and periods of scarcity. Its simplicity and long shelf life made it an invaluable food source in various historical contexts.
The origins of hard tack can be traced back to ancient times, where it was commonly used among seafarers due to its ability to withstand long voyages without spoiling. The British Royal Navy, known for its exploration and colonization efforts, produced hard tack to feed their sailors during these expeditions. Similarly, during the American Civil War, hard tack played a crucial role in providing sustenance to soldiers on the battlefield.
The significance of hard tack lies not only in its practicality but also in the insights it offers into the daily lives and challenges faced by settlers and soldiers. It represents a tangible link to the past, allowing us to connect with the history and experiences of those who relied on this humble survival bread. By making and experiencing hard tack ourselves, we can gain a deeper appreciation for the resourcefulness and resilience of our ancestors.
The Legacy of Traditional Hard Tack
The legacy of traditional hard tack extends beyond its historical importance. Today, hard tack is still enjoyed by outdoor enthusiasts, survivalists, and those who appreciate its nostalgic value. It serves as a reminder of the resilience and ingenuity of our forefathers, as well as a practical option for those seeking long-lasting camping supplies or emergency rations.
As we make and savour hard tack, we become part of a timeless tradition, connecting with the past and embracing the spirit of self-reliance. By preserving and passing down the knowledge of making traditional hard tack, we ensure that this historic settler food remains alive in our collective memory for generations to come.
Ways to Enjoy Hard Tack
Hard tack is known for its durability and long shelf life, but that doesn’t mean it can’t be enjoyed in different ways. One popular method is to soften the hard tack by soaking it in water, milk, soup, or stew for at least 5-10 minutes before consuming. This helps to make the hard tack easier to chew and enjoy.
If you’re looking for a tasty twist, you can also fry the hard tack in butter. This adds a delicious crispy texture and enhances the flavor. Serve it alongside your favorite savory dishes or enjoy it on its own as a crunchy snack.
For those with a sweet tooth, hard tack can also be used as a base for sweet dishes. Consider crumbling it up and using it as a topping for ice cream or incorporating it into a dessert recipe. The combination of the sweet treat and the crunchy hard tack creates a delightful contrast of flavors and textures.
During the American Civil War, soldiers often crushed hard tack and mixed it with water, coffee, or brown sugar to create different meal options. This allowed them to get creative with their rations and make the most of what they had. You can take inspiration from their resourcefulness and experiment with your own unique ways to enjoy hard tack.
Conclusion
Making homemade hard tack is an easy and rewarding experience that allows you to delve into the past and create your own survival food. By following a simple recipe and using basic ingredients, you can produce a durable and long-lasting bread with a rich history.
Whether you’re an avid camper, preparing for emergencies, or simply intrigued by traditional foods, having homemade hard tack on hand is a smart and practical choice. Its long shelf life ensures that you’ll have a reliable source of sustenance whenever you need it.
So why not embark on this culinary adventure and try your hand at making easy hard tack? You’ll discover the satisfaction of creating a piece of history in your own kitchen, while also gaining a valuable skill for future outdoor adventures or unpredictable situations.
Remember, with just a few steps and some patience, you can enjoy the benefits of homemade hard tack and appreciate its significance as a historic survival food. Start your journey today and have a taste of the past with this simple and delicious treat.
FAQ
Can I use self-rising flour instead of all-purpose flour?
It’s best to use all-purpose flour for making hard tack to avoid any leavening agents.
How should the dough consistency be before rolling it out?
The dough should be a little dry and not sticky before rolling it out.
How do I prevent the dough from sticking when rolling it out?
Use a little flour to prevent sticking when rolling the dough.
Why do I need to poke holes in the squares?
Poking holes with a chopstick or fork prevents the hard tack from puffing up.
How should I store the hard tack to maintain its freshness?
Let the hard tack cool completely before storing it in an airtight container.
How long does hard tack last?
Hard tack has a long shelf life and can last for months if stored properly.
How do I soften hard tack before consuming?
Soak hard tack in water, milk, soup, or stew for at least 5-10 minutes before consuming to soften it.
Can I fry hard tack?
Yes, some people fry hard tack in butter for a different texture and flavor.
How was hard tack used historically?
Hard tack was used as a survival food by pioneers, soldiers, sailors, and explorers during long journeys and periods of scarcity.
How can I incorporate hard tack into meals?
Crush hard tack and mix it with water, coffee, or brown sugar to create different meal options.
Is making hard tack a fun activity for kids?
Yes, making hard tack can be a fun and educational activity for kids to learn about the food of the past.


