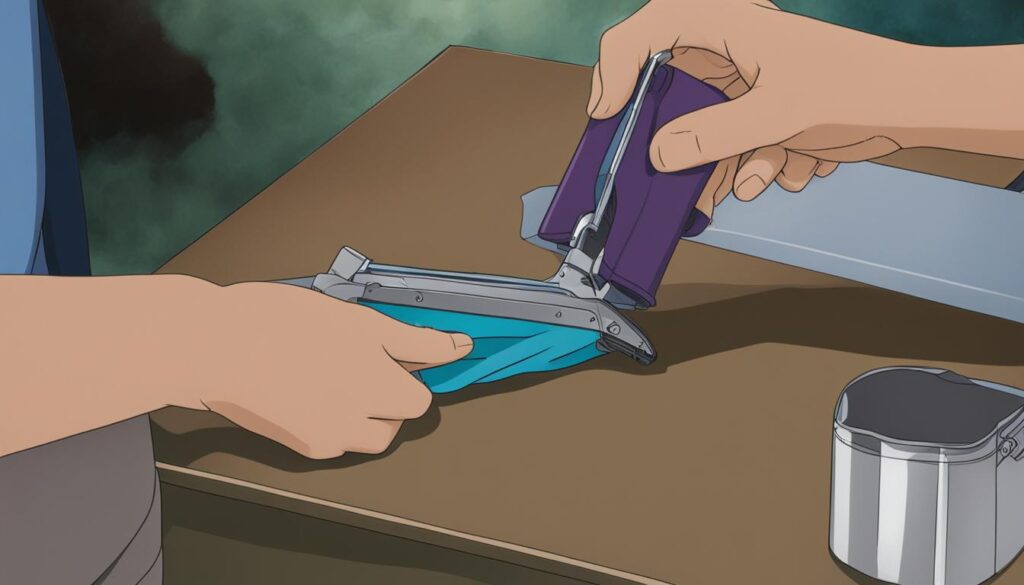
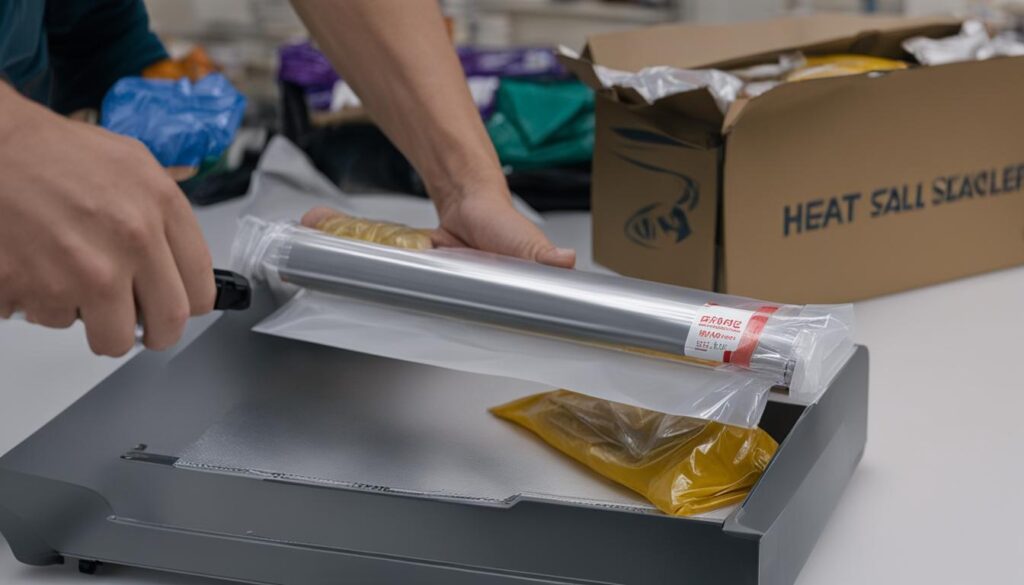
Are you looking for a simple and effective way to preserve your dry food items? Look no further! In this easy guide, I will show you how to seal Mylar bags at home, ensuring long-term freshness and shelf life for your stored goods.
When it comes to sealing Mylar bags, there are a few key steps to follow. First, make sure to label the bag with its contents and packaging date using a permanent marker. This will help you keep track of what’s inside and how long it has been stored. Next, fill the bag with your items, leaving some space at the top. Don’t forget to insert an oxygen absorber packet inside the bag to maintain the quality of the food.
Now, let’s talk about the sealing methods. You have a couple of options here. You can use a hot clothes iron or a hair straightener to seal the bags, or you can opt for an impulse or vacuum sealer for a more professional touch. Whichever method you choose, make sure to seal the bag securely to prevent any air from entering and compromising the freshness of your food.
How to Seal Mylar Bags
- Label your Mylar bags with contents and packaging dates to keep track of what’s inside.
- Insert an oxygen absorber packet to maintain the quality of the food.
- Choose between using a hot clothes iron, hair straightener, or an impulse/vacuum sealer for sealing.
- Seal the bags securely to prevent air from entering and compromising the freshness.
- Store your oxygen absorbers in an airtight container when not in use.
Various Methods for Sealing Mylar Bags
When it comes to sealing Mylar bags at home, there are a few different methods you can try. One popular option is to use an impulse or vacuum sealer. These devices provide a quick and uniform seal, ensuring that your food stays fresh for longer periods. Simply place the open end of the Mylar bag into the sealer, close the lid, and let the machine do the work. It’s a convenient and efficient way to seal your bags without any hassle.
If you don’t have an impulse or vacuum sealer, don’t worry. You can still achieve a secure seal using common household appliances like a hot clothes iron or a hair straightener. Make sure to set the iron to the wool setting and let it heat up. Once ready, place the bag on a flat surface and run the iron or straightener over the open end of the bag. Make one or two passes to ensure a strong seal.
For those who prefer the convenience of resealable bags, some Mylar bags come with a built-in zipper-seam. These bags are particularly useful for storing items that you may need to access more frequently. Just remember to heat seal the bags above the zipper for 100% airtight sealing. It’s a simple and effective way to keep your food fresh while still allowing easy access whenever you need it.
Tips for Sealing Mylar Bags:
- Consider using an impulse or vacuum sealer for quick and uniform sealing.
- If using a hot iron or hair straightener, set it to the wool setting for optimal results.
- Mylar bags with a built-in zipper-seam are convenient for easy access and resealing.
- Remember to heat seal above the zipper to ensure airtight sealing.
With these various methods for sealing Mylar bags, you can confidently preserve the freshness of your food items at home. Whether you choose to use an impulse or vacuum sealer, a hot iron, or opt for resealable bags, the key is to create a strong and airtight seal. By following these tips, you’ll be able to extend the shelf life of your dry food items and ensure they stay in optimal condition for a long time.
Best Practices for Sealing Mylar Bags
When it comes to sealing Mylar bags, following best practices is crucial to ensure a secure seal. By taking the right steps and using the correct techniques, you can effectively preserve the freshness and shelf life of your stored food items.
To begin, it’s important to prepare all the necessary materials before sealing your Mylar bags. This includes your food items, Mylar bags, and oxygen absorbers. By having everything ready, you can streamline the sealing process and avoid any disruptions.
Labeling your Mylar bags before sealing them is another important step. By clearly noting the contents and the date of packaging, you can easily identify and keep track of your stored items. This is especially helpful if you plan to store multiple bags with different contents.
When it comes to actually sealing the bags, there are various methods you can choose from, such as using an impulse or vacuum sealer, a hot iron, or a hair straightener. Whichever method you choose, make sure to seal the bags securely to create an airtight barrier against moisture, pests, and oxygen.
Finally, if you ever need to reuse your Mylar bags, you can do so by cutting or ripping them open below the original seal. After refilling the bags with new items, you can then heat seal them again below the new opening. Just remember to add a fresh oxygen absorber for optimal storage conditions.
Advantages of Using Mylar Bags for Food Storage
When it comes to preserving the freshness of your food, Mylar bags are a fantastic option. These bags offer numerous advantages that make them an ideal choice for long-term food storage. Made from metalized polyester, Mylar bags provide durability and opacity, which are essential for maintaining the quality of your stored food items. The material acts as a barrier against light, moisture, and oxygen, ensuring that the food remains fresh and free from spoilage.
One of the key benefits of using Mylar bags for food storage is their ability to significantly extend the shelf life of dry food items. When combined with oxygen absorbers, these bags create an airtight seal that prevents the growth of molds, bacteria, and other microorganisms. This sealing process can preserve the quality of your dry foods for up to 40 years or even longer, allowing you to stock up on essential items without worrying about their expiration dates.
Furthermore, Mylar bags are particularly suitable for storing dry food items with low moisture content, such as white rice, whole grains, rolled oats, flour, and beans. Their high impermeability to moisture protects these items from humidity, which can lead to spoilage and loss of nutritional value. By keeping your dry foods in Mylar bags, you can ensure that they remain fresh and ready to use whenever you need them.
It’s important to note that while Mylar bags offer excellent preservation properties, they are not rodent-proof and can tear easily. To enhance protection, it is recommended to store the bags in heavy-duty storage buckets or containers. This additional layer of security will safeguard your food against pests and physical damage, ensuring that your stored items remain safe and intact for extended periods.
Conclusion
Sealing Mylar bags at home is a straightforward process that allows you to effectively store and preserve dry food items. By following the steps outlined in this guide, you can ensure a secure and airtight seal, extending the shelf life of your stored goods.
Key sealing techniques include labeling the bags for easy identification, using oxygen absorbers to maintain freshness, and selecting the appropriate sealing method. Whether you choose to use an impulse or vacuum sealer, a hot iron or hair straightener, the goal is to create a strong seal that prevents moisture and pests from compromising your food.
Mylar bags offer numerous benefits for long-term food storage, including extended shelf life and protection against moisture. They are particularly suitable for storing low-moisture content items like grains, rice, flour, and beans. Remember to store Mylar bags in heavy-duty containers to enhance their durability and safeguard them against rodents.
By mastering the art of sealing Mylar bags at home, you can confidently stock up on your favorite dry food items and have peace of mind knowing that they will stay fresh and ready for consumption whenever you need them.
FAQ
How do I seal Mylar bags at home?
To seal Mylar bags at home, label the bag’s contents and packaging date, fill the bag with your items, place an oxygen absorber packet inside, and choose between using a hot iron or hair straightener or an impulse or vacuum sealer to seal the bag securely.
What methods can I use to seal Mylar bags?
You can use an impulse or vacuum sealer for a quick and uniform seal, or you can use a hot iron or hair straightener, especially if you have a metal straightener. Make sure to set the iron to the wool setting and make one or two passes over the bag to create a strong seal.
What are the best practices for sealing Mylar bags?
Prepare all your materials, label the bags before sealing, leave a small opening to insert the oxygen absorber, choose the appropriate sealing method (impulse or vacuum sealer, hot iron or hair straightener), and remember to heat seal bags above the zipper for 100% airtight sealing.
What are the advantages of using Mylar bags for food storage?
Mylar bags are made from metalized polyester, providing a durable and opaque storage solution. When properly sealed and combined with oxygen absorbers, Mylar bags can extend the shelf life of dry foods for 10 to 40 years. They are suitable for storing low moisture content items like rice, grains, oats, flour, and beans.


